Nail Ink Guide: How to Use Nail Ink for Nuance Nail Art
Nail ink has become a popular technique in Japanese and Korean nuance nail art, known for its soft diffusion, depth, and organic, ink-like effects.
While it’s widely used in Asia, nail ink is still relatively niche in the US nail industry, making it a unique medium for nail artists looking to expand their design repertoire.
In this guide, we’ll break down:
What nail ink is
How it compares to gel polish
How to use nail ink step-by-step
What is Nail Ink?
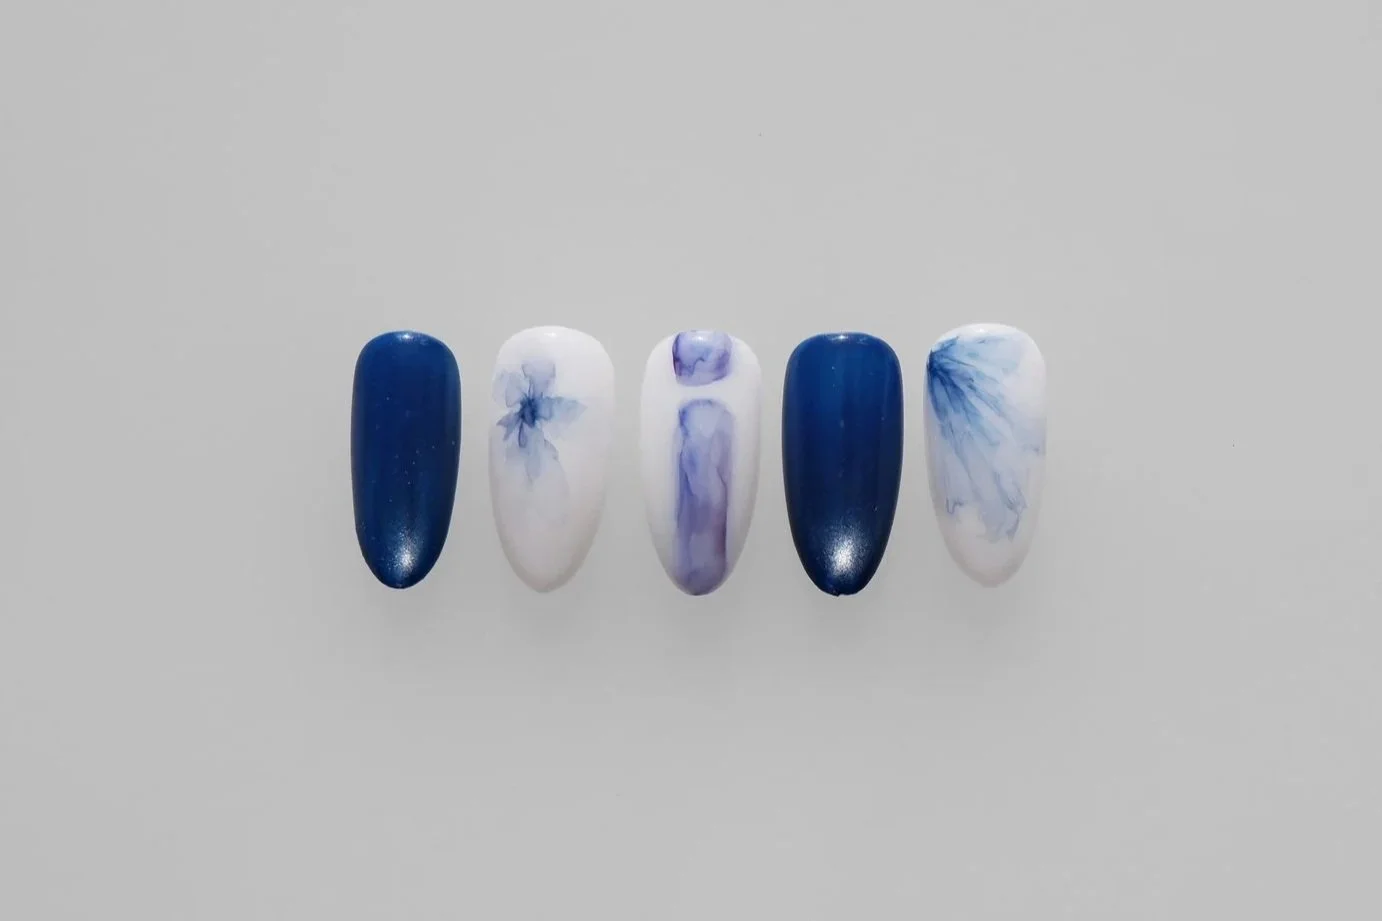
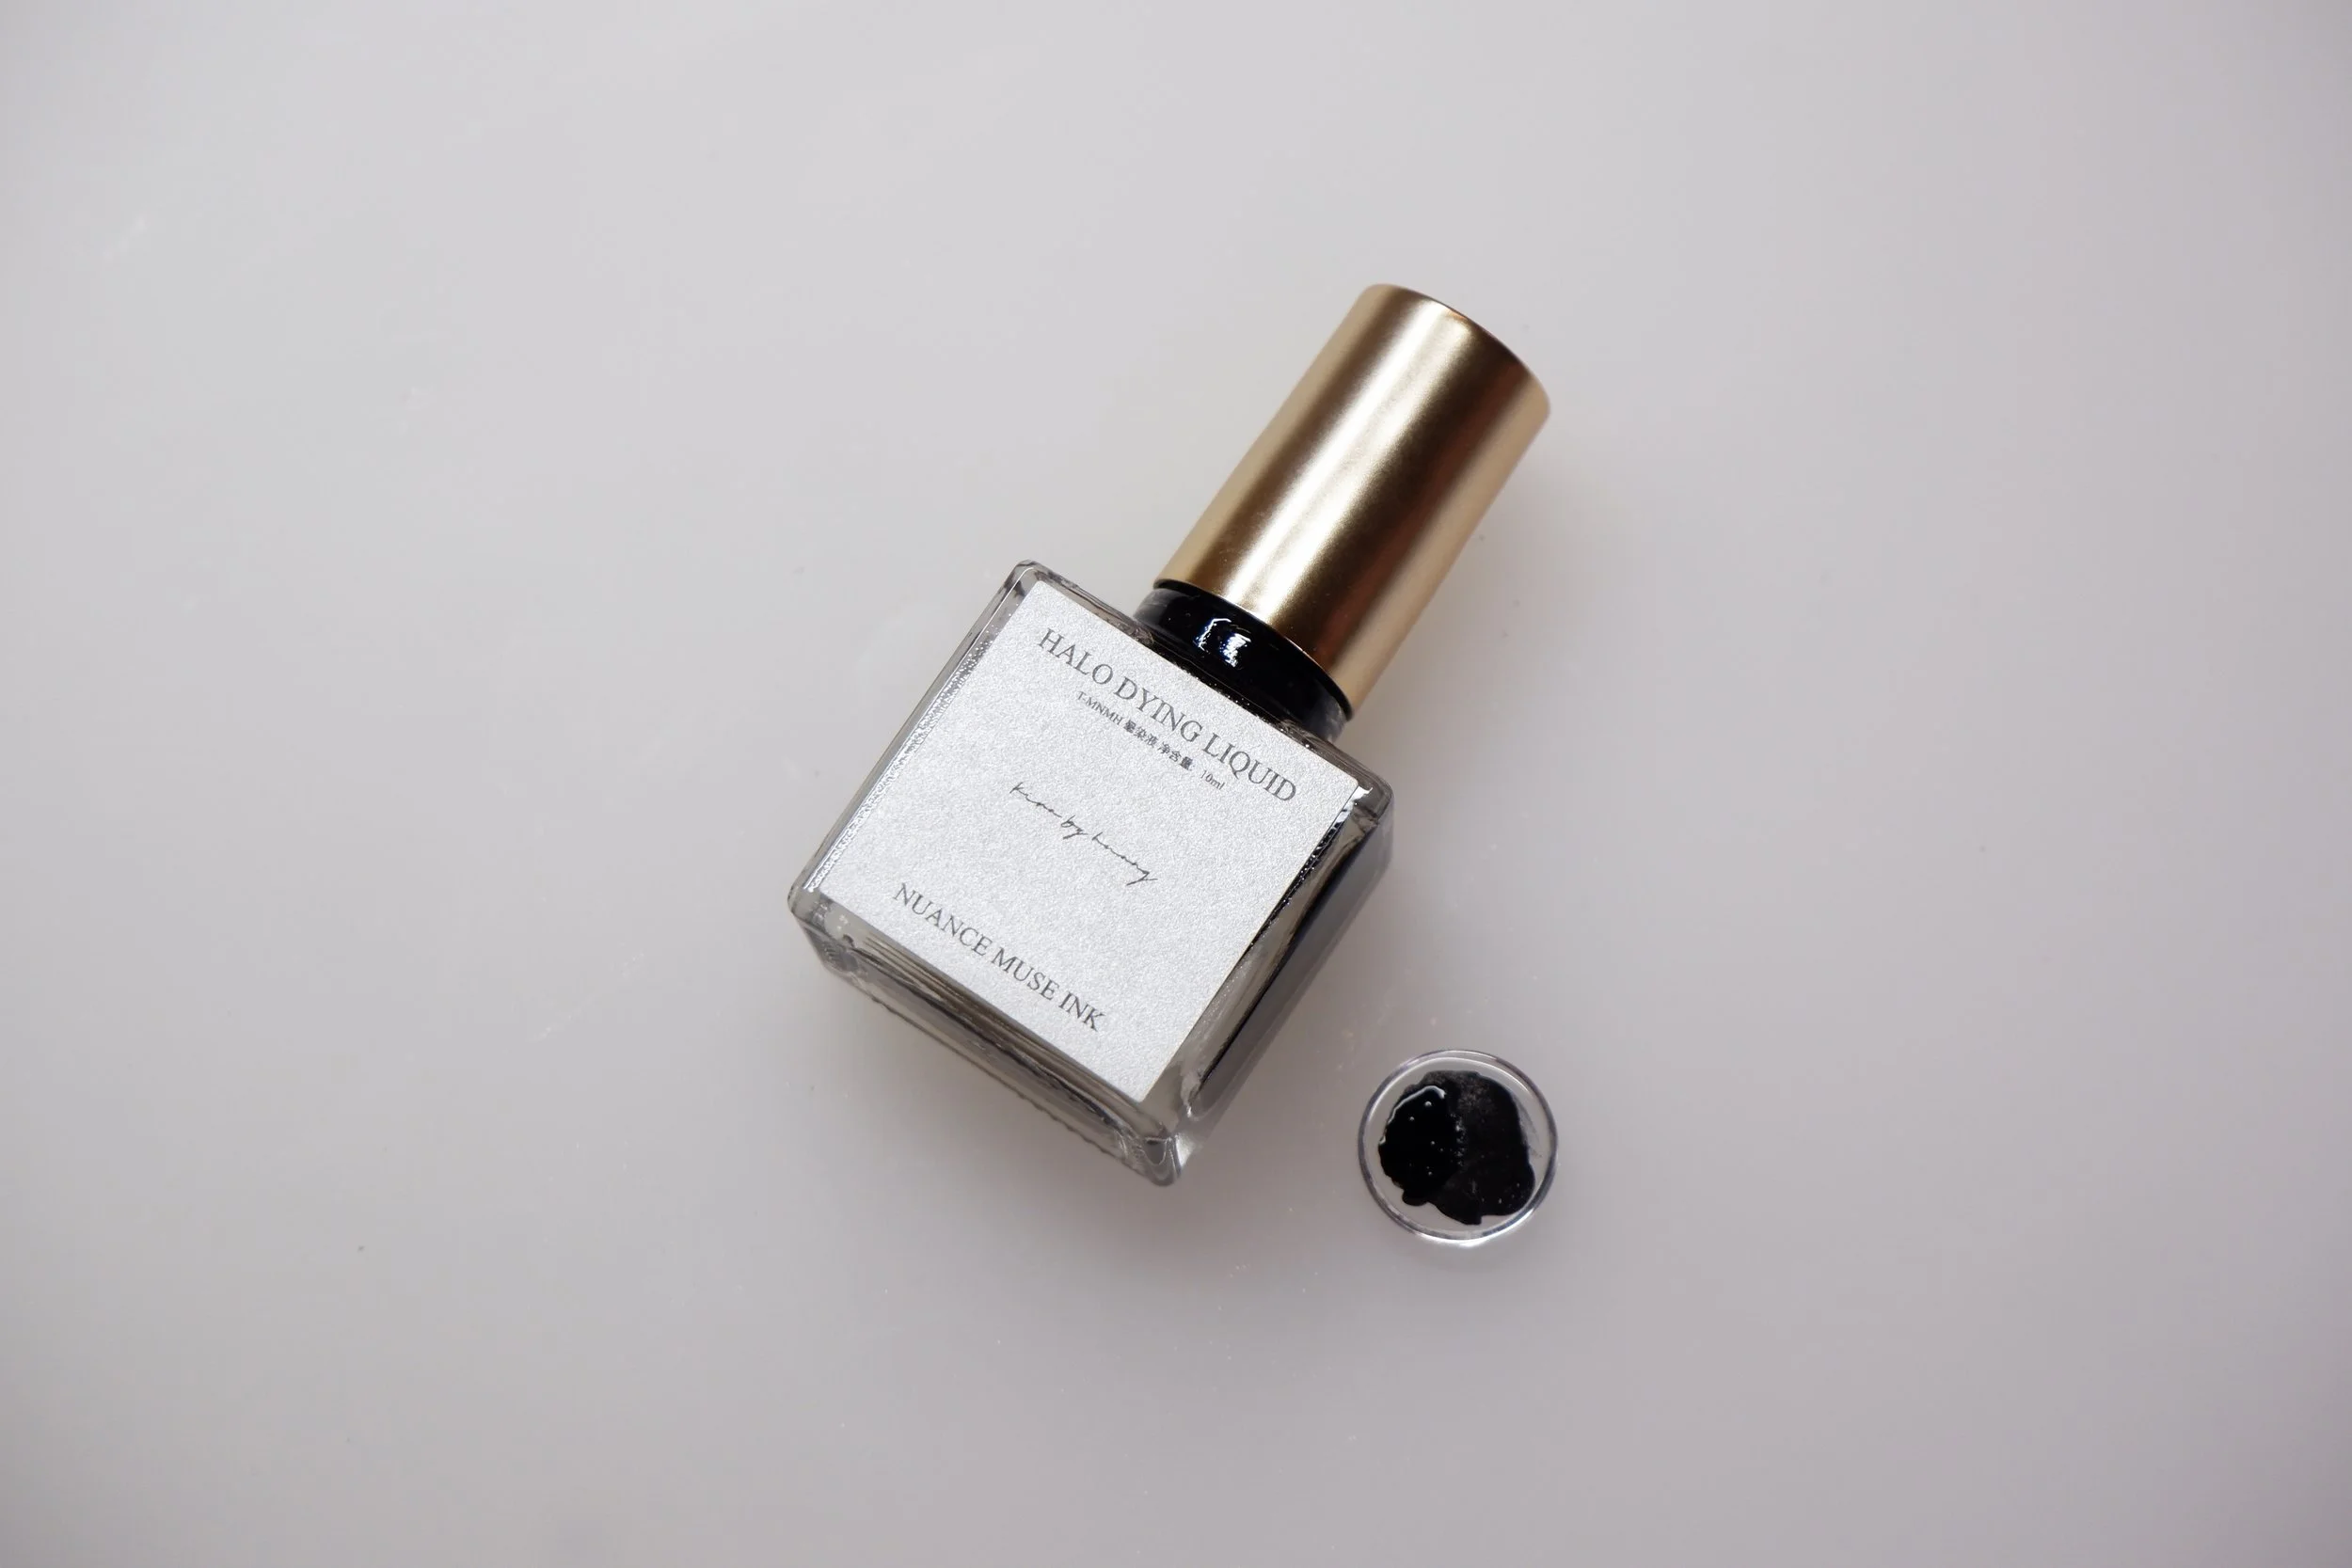
Nail ink is a liquid pigment-based nail art medium designed to spread and diffuse over the nail surface, creating soft, watercolor-like effects.
Unlike traditional gel nail polish, nail ink flows freely, allowing you to create abstract nail designs, layered effects, and organic textures with minimal effort.
Nail Ink vs Gel Polish: What’s the Difference?
Key Difference: Application Surface
Nail ink is applied over a cured non-wipe or matte top coat.
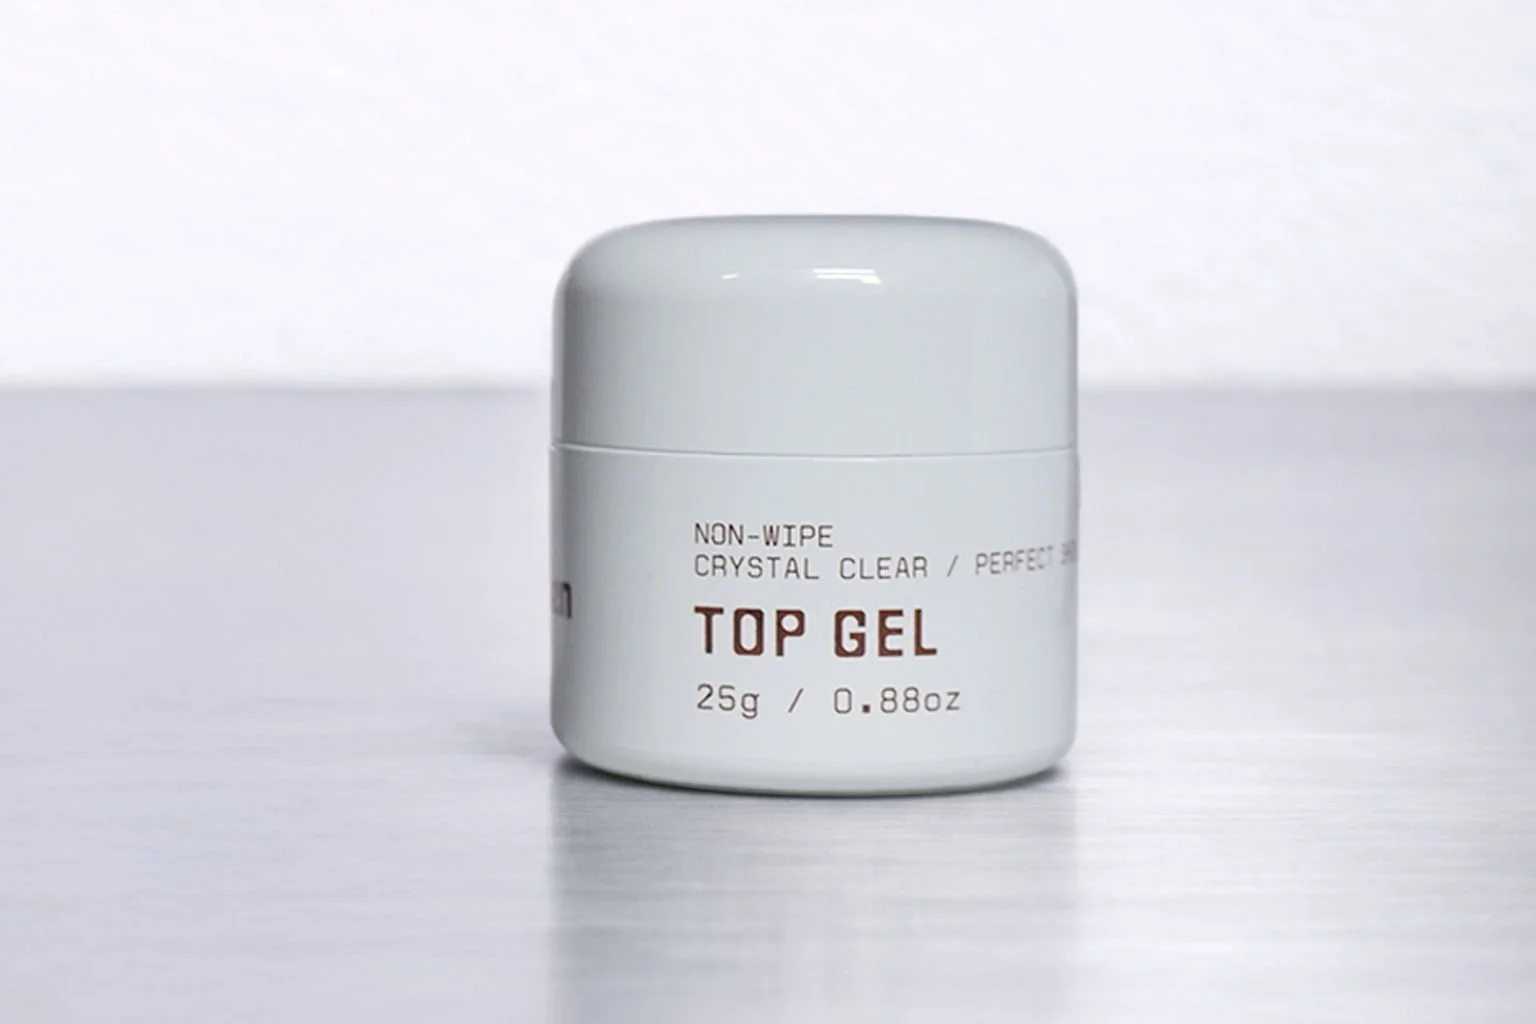
While gel polishes and color gel are typically applied over a cured base gel, nail ink requires a smooth, sealed surface to allow the pigment to move freely.
👉 This is what gives nail ink its signature diffused, blooming effect.
Key Difference: Movement & Finish
Nail ink flows and expands naturally.
Unlike gel polish, which generally stays where it’s placed (unless used with blooming gel), nail ink spreads across the surface to create a unique, one-of-a-kind nail designs every time.
This makes it perfect for:
abstract nail art
watercolor nail designs
ink-style layering techniques
Similarity: Sealing with Top Coat
Just like gel polish, nail ink must be sealed with a top coat once fully dry.
⚠️ Make sure the ink is completely dry before applying top coat to prevent smudging.
Similarity: Avoid Skin Contact
Nail ink dries quickly and can stain the skin.
👉 Clean up immediately if any product touches the skin (similar to gel polish, but more time-sensitive due to staining).
How to Use Nail Ink (Step-by-Step)
1. Prep the Nail
Complete nail prep by shaping the nail and performing cuticle care.
Apply:
Base gel → cure
Color gel → cure
👉 Because nail ink is semi-transparent, your base color will affect the final result.
2. Apply Top Coat
Apply a non-wipe top coat and fully cure. Apply an additional matte top coat if preferred.
This smooth surface allows the ink to flow and diffuse properly.
3. Shake the Ink
Shake the bottle thoroughly to evenly distribute the pigment.
4. Apply Nail Ink
Lightly place the ink onto the nail in random shapes.
💡 Tip: Leaving negative space creates a more editorial, airy nail design.
5. Build Layers
Once dry (about 1 minute), apply additional ink to build depth and contrast.
Because the ink reactivates and spreads, layering creates:
dimension
soft gradients
organic movement
6. Seal the Design
After the ink is fully dry, apply a final top coat and cure.
👉 Don’t forget to seal the edges for long-lasting wear.
Why Nail Ink is Worth Trying
Nail ink offers a level of freedom that’s hard to achieve with gel alone. It also adds dimension and depth very quickly compared to layering many thin layers of color gel.
It’s especially popular in:
Korean nail art techniques
Japanese nail designs
editorial and abstract nail art styles
With endless layering possibilities, nail ink allows you to create designs that feel soft, modern, and completely unique.